Tutorial: How to Improve Your Ski Touring Skills Touring Intermediate/Advanced Level)

If you're an experienced ski Touring who enjoys exploring hidden gems that haven't been overrun by crowds yet, this blog is for you!
As experienced skiers, we’ve noticed that many skiers head out on the slopes without being fully aware of various important factors, including safety. So in this article, we’ll try to give you a quick refresher course, ZAG Skis style, to ensure your outings are successful—and completely safe!
In this blog, we’ll take a look at everything a ski Touring freeride skier needs to know to enjoy their time on the slopes with confidence.
This will allow some participants to simply review what they’ve learned (here, with a guide checking their progress) and others to continue their training with a quick pit stop, so they can build a solid theoretical foundation! To do this, we’ll be joined by our local expert, our guide Pierre Masbou (aka Pierro).
Who is Pierre Masbou?
My name is Pierre Masbou; I am a trainee mountain guide and ski instructor. I currently work as a gendarme rescue officer and instructor at the National Gendarmerie Ski and Mountaineering Center (CNISAG, a training center for mountain rescue). I first got into mountaineering and ski Touring my home mountains, the Pyrenees. A famous quote that has stayed with me since I started: “A mountaineer is a man who leads his body to where, one day, his eyes have looked…”
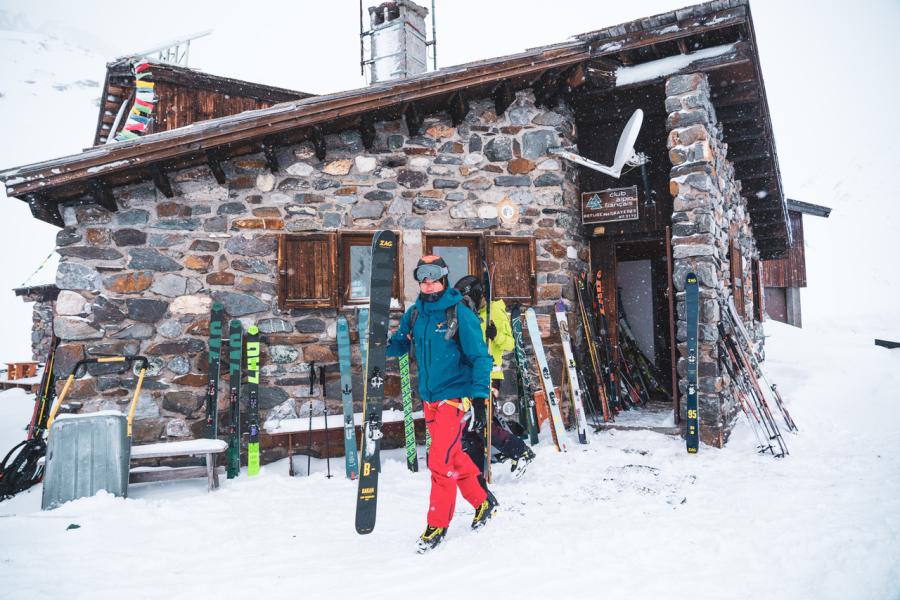
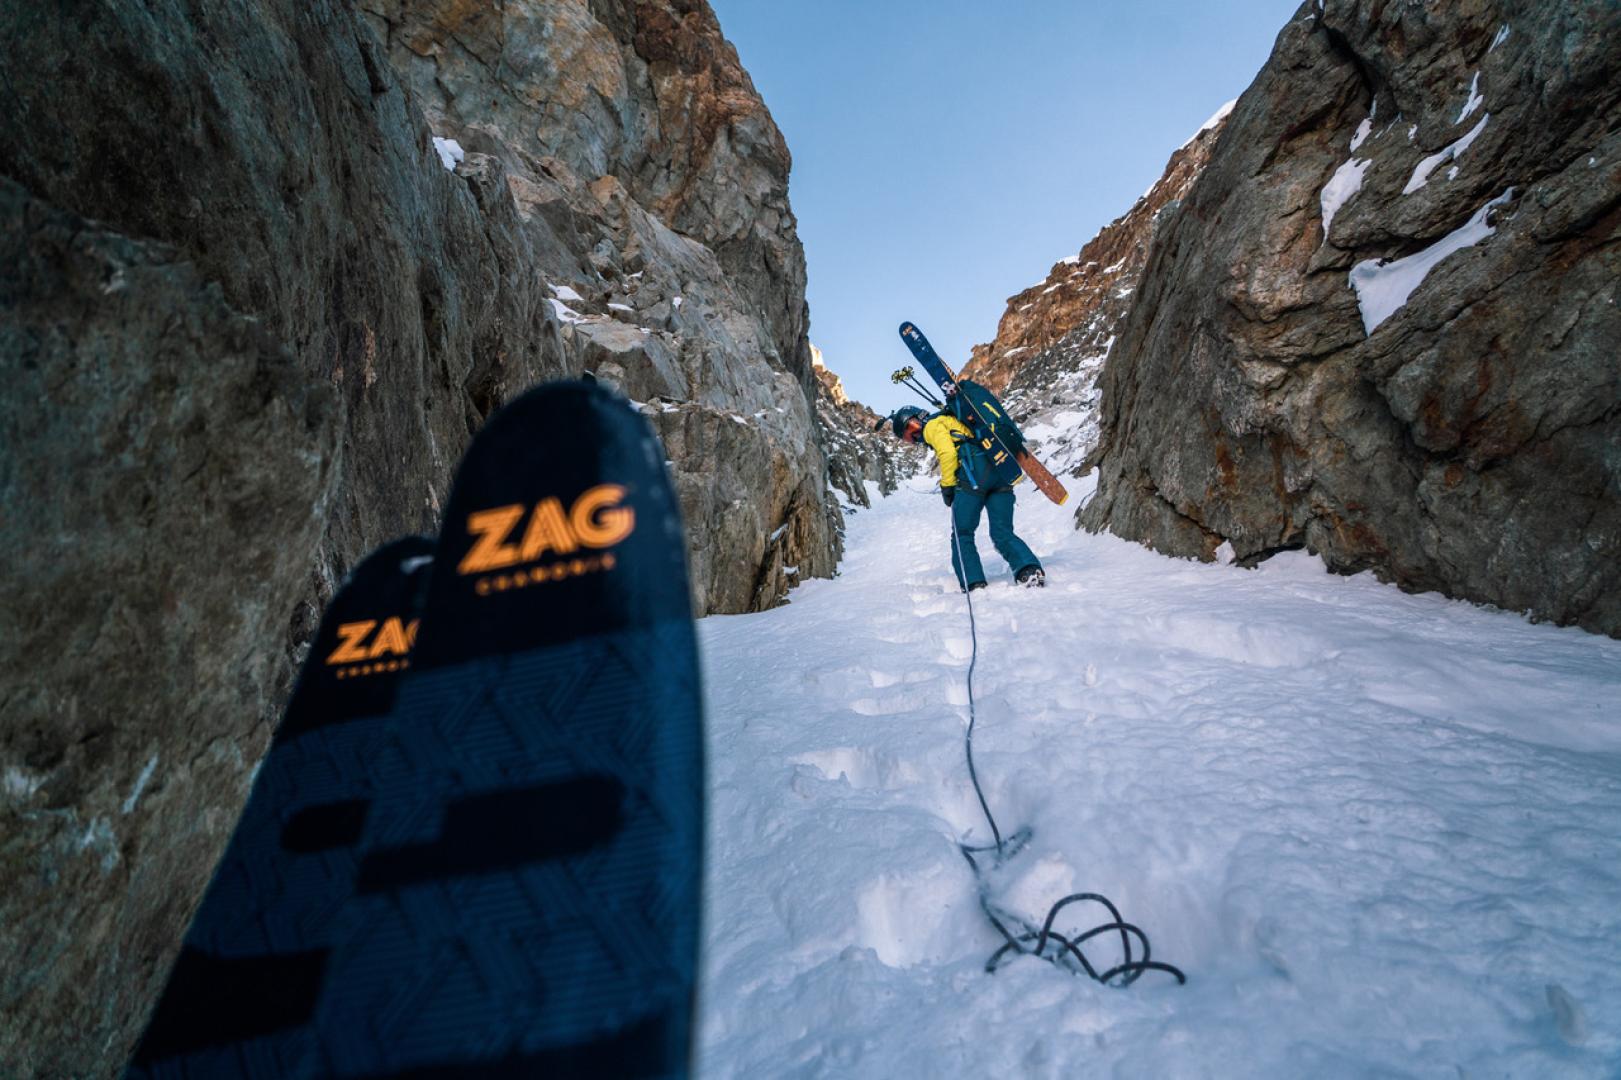
What gear should you choose for ski Touring
When trying to save weight, we often have to decide what gear to bring (or leave behind). It’s a tough choice when you don’t necessarily know what kind of conditions you’ll face on the trip!
So, deciding what gear to bring along is a crucial step in preparing for your trip! If you don’t bring enough, you risk getting stuck in the middle of a tricky section; conversely, bringing too much will just weigh you down unnecessarily.
Generally speaking, for a day hike, a backpack should have a capacity of between 20 and 30 liters. This size allows you to pack enough layers depending on the weather, carry crampons or an ice axe if needed, and bring the necessary food…
Pierro's words
“Taking human factors and the terrain into account is essential for a successful outing. If you’re unsure about a decision or a section of the route, don’t hesitate to speak up. Communication is a key element that should never be overlooked within a group throughout the entire outing. Accidents often happen when weaker members don’t necessarily speak up about feeling unwell or uneasy, and conversely, a stray dog can lead you into dangerous situations without having taken the time to assess the terrain and surroundings.”
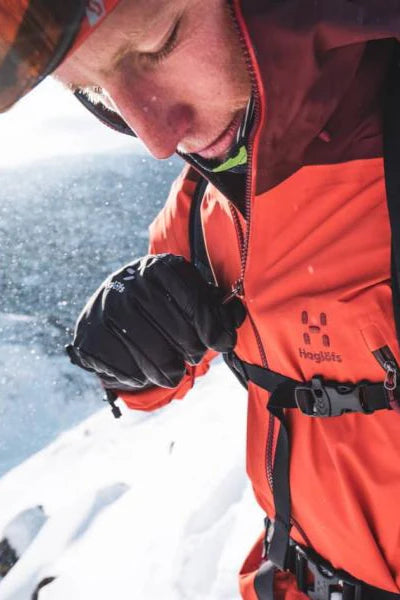
"You should double-check to make sure all avalanche transceivers are in good working order. It is possible that the frequencies of some transceivers may drift, causing them to become incompatible with other devices."
I usually put my avalanche transceiver in a secure pocket on my pants (using the Leach system to attach it on the inside) and my phone in the opposite pocket of my jacket or even at the top of my backpack. Be careful—it’s not just electronic devices that can interfere with the signal; packaging for fruit compotes and cereal bars can also cause your avalanche transceiver to malfunction!
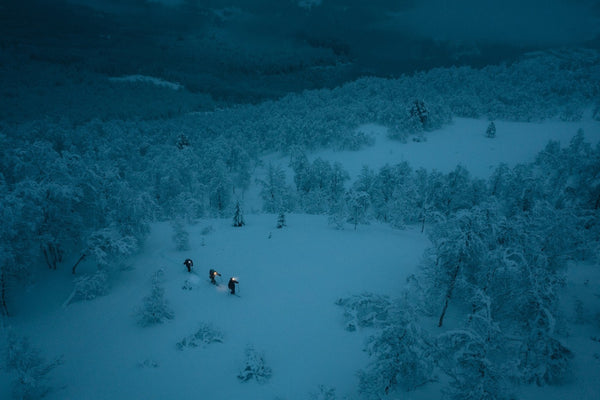
How to get off to a good start on a Touring trip Touring
Starting block
Let’s get right to the heart of the matter: you’ve planned the trip in advance, you pull into the parking lot, all set to strap on your skis and hit the steep slopes. But hold on a second—not so fast! There’s nothing like a quick personal check-in. It’s important not to overlook the team’s morale. Knowing everyone’s motivations will allow us to tailor the outing to suit as many people as possible. You never know if someone might be out of shape, or if someone wants to tackle as much elevation gain as possible in the shortest time, so it’s important to be aware of this to avoid any frustration within the team.
Once you’ve done your own weather check—an assessment from the parking lot of the sky, the snow, potential avalanches, etc.—you’ll immediately get a sense of the environment you’ll be navigating. You start your outing, but hold on—not so fast! You’ll need to designate two people for the avalanche transceiver test. Spacing out, you’ll pass in front of your partner one at a time, starting in “Search” mode (one meter away from them) and then passing in front of the second person in “Ski” mode.
Once everyone has been checked in, you can head out with peace of mind (provided, of course, that no issues have been detected).
Avalanche transceiver check: OK, but watch out for interference!
For your avalanche transceiver to work properly, it is essential to minimize interference as much as possible. Interference can be caused by any electronic device (even if it is turned off or in airplane mode, as is the case with smartphones). The closer the device is to the avalanche transceiver, the more it interferes with the transceiver’s signal. As a minimum, keep electronic and metal devices at least 50 cm away from the transceiver. That said,
Now we’re off—once the horses are up to speed, you can quickly tell which ones have the most stamina and which ones don’t, the ones that are lagging behind. No need to remind you that when you exert yourself physically, you sweat and get hot. Managing your layers well is important. After about fifteen minutes of effort, don’t hesitate to take a break, regroup, and ask everyone how they’re feeling (personal weather report part 2), remove a layer if needed, split into smaller groups if necessary, and get back to it with renewed energy!
Pierro's words
“Taking human factors and the terrain into account is essential for a successful outing. If you’re unsure about a decision or a section of the route, don’t hesitate to speak up. Communication is a key element that should never be overlooked within a group throughout the entire outing. Accidents often happen when weaker members don’t necessarily speak up about feeling unwell or uneasy, and conversely, a stray dog can lead you into dangerous situations without having taken the time to assess the terrain and surroundings.”
"You should double-check to make sure all avalanche transceivers are in good working order. It is possible that the frequencies of some transceivers may drift, causing them to become incompatible with other devices."
I usually put my avalanche transceiver in a secure pocket on my pants (using the Leach system to attach it on the inside) and my phone in the opposite pocket of my jacket or even at the top of my backpack. Be careful—it’s not just electronic devices that can interfere with the signal; packaging for fruit compotes and cereal bars can also cause your avalanche transceiver to malfunction!
How do you conduct a thorough site analysis?
We keep moving forward; we know exactly where to go because we planned the route carefully, but a doubt creeps in on a slope. Whoa, let’s not rush in headlong—we need to make a decision.
Munter's 3x3: The Swiss Army Knife of Decision Support
This simple method allows you to make quick decisions. It is based on three factors—people, conditions, and the site—across three spatial-temporal levels: before, parking, and the site.
Beforehand: Check the Avalanche Risk Report and find out about the route you plan to take.
Parking: Personal weather report . Hold a quick meeting with the people you’re going out with to discuss their mindset, motivation, and expectations for the outing.
Terrain: Be able to constantly assess the terrain and adjust your route if conditions turn out to be different than expected.
On that note, let's take a break—a quick update!
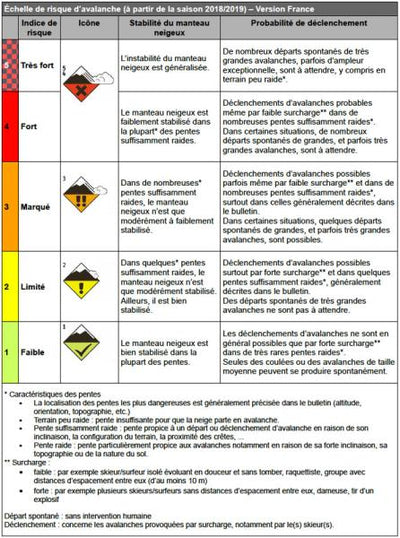
In winter, and especially when ski Touring, the skier’s number one enemy is the avalanche.
What exactly is an avalanche? It is the overlapping of two layers of snow—which we’ll call “slabs”—that have different densities. An avalanche is triggered when the lower slab has a lower density than the upper slab.
A single skier passing by is enough to trigger an avalanche spanning several dozen meters and involving several thousand cubic meters of snow.
To check the snowpack and its layers on the spot, simply flip your Pole upside down Pole stick it into the snow. You’ll quickly feel different densities as you push it in.
Pierro's words
"The 3x3 method is one of the risk assessment methods I regularly use on my ski Touring trips, whether I'm out on my own or with clients. It's very important to ask yourself the right questions at the right time!"
Keep in mind that snow science is still the most difficult aspect to analyze and interpret! If you’d like to improve your skills and test your knowledge of snow science, don’t hesitate to seek advice from a mountain professional during one or more outings.
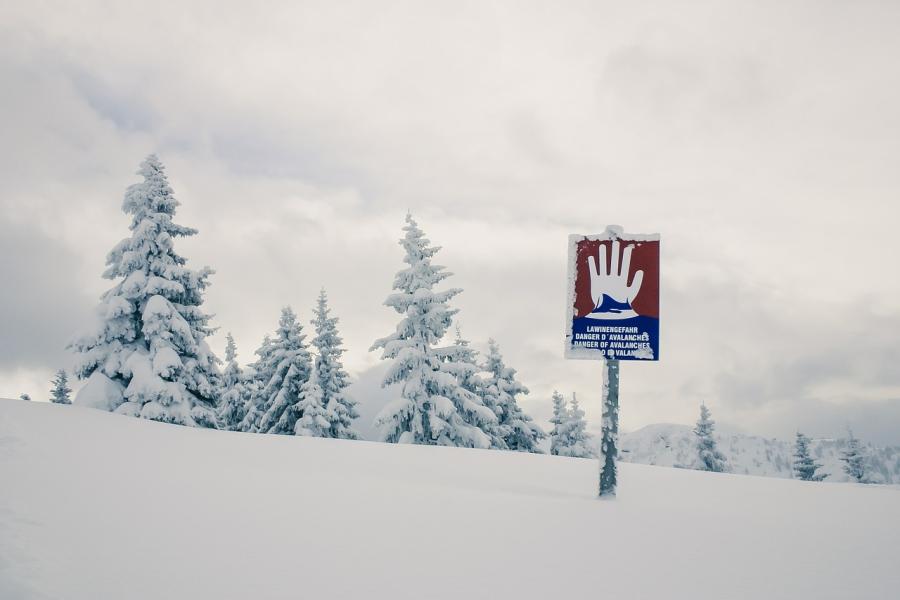
Avalanche risk? Stay alert!
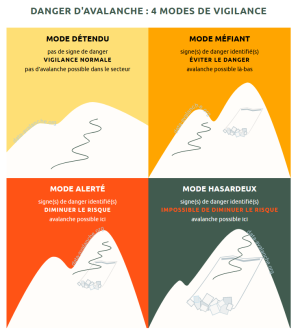
The 4 levels of vigilance
Relaxed mode:You are in an area where slopes are less than 30 degrees, there are no visible signs, and you are out of reach of any starting points.
Caution Mode:You are aware that you may be traveling through a hazardous area, but depending on your route, you can avoid the danger. The goal is therefore to clearly identify the hazardous section so you can adjust your route and thus avoid the danger.
Avalanche Alert:You are entering an area where there is a risk of avalanches, either because the route requires it or because you have chosen to do so. The goal here is to identify safe zones and increase the distance between skiers (fewer people involved if an avalanche is triggered).
High-risk mode:You are operating in an area where it is impossible to reduce the risk; in the worst-case scenario, the outcome is fatal. Only involve experienced and fully informed individuals.
Duclos's pictograms
Another useful tool for understanding snow conditions and tracking your progress is the Duclos pictogram system. With six different symbols, they give you a comprehensive overview of your progress.
Recent avalanches:Communication channels provide information on recent avalanches (data-avalanche.org).
Slopes:Using the IGN or Skitrack websites, it's easy to display slopes steeper than 30°.
Risk Index:Based on the BERA reports published from December 15 to April 15 on the Météo France website.
Overburden:A layer of fresh snow, whether recent or not, caused by wind accumulation.
Warm spell:Rising temperatures and any resulting snowmelt are easily noticeable.
Weak layers:Buried layers and their effect on snowpack stability. Careful monitoring of local weather and snow conditions can provide information on the presence of these layers.
To help you interpret the BERA avalanche risk scale, here is a brief summary of the signs you may encounter.

Pierro's words
"The BRA is a factor we take into account—just like the weather—when preparing for a race, but also in the field. The pictograms and the four alert levels serve as decision-making aids in the field, helping to fill in the decision-making boxes in the 3X3 method."
There’s no such thing as zero risk. Snow is a complex phenomenon—the more you learn about it, the less you realize you know! The only advice I can give you is to maintain a safe distance to avoid putting the whole group at risk whenever possible.
How should one proceed in high-risk areas?
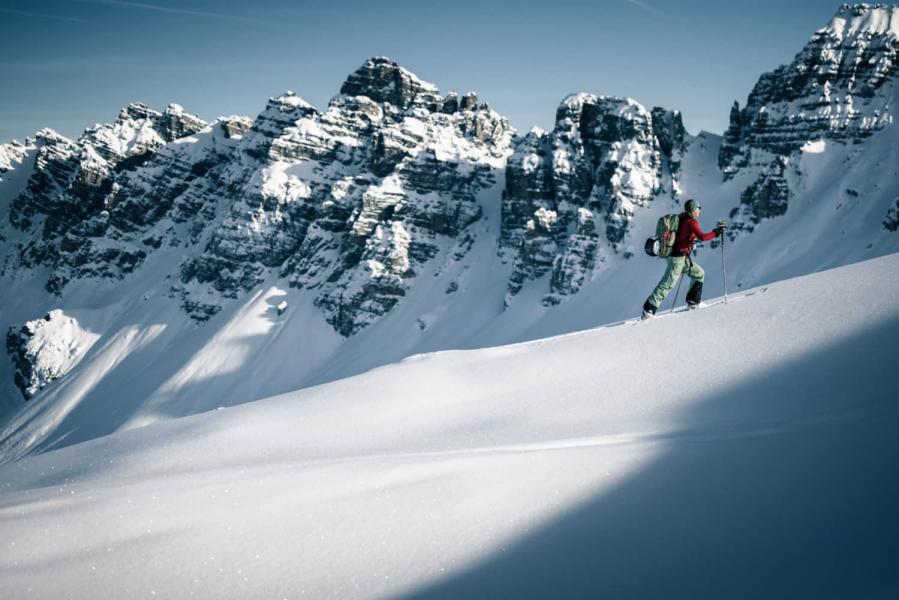
It goes without saying that as you improve, you quickly get tired of runs with slopes less than 30 degrees that are all groomed, where you run into half the ski club from the next town.
We’re in the mood for something new—to push the boundaries a little and see what lies between two peaks, explore a few couloirs, tackle some ridge routes, and make our way across a glacier…
However, this doesn't happen without some preparation! Here's a quick checklist of things you should know before you get started!
Useful links
- The basic belay knot is the figure-eight knot. It is used to secure yourself at the end of the rope, as well as to connect the two strands of the rappel rope.
- The bowline is an adjustable knot used for securing oneself (tying off)
- The half-clove hitch is a belay knot used to belay a person or to rappel short distances.
How to use an ice axe properly / Which type of ice axe is best?
An ice axe is useful for technical high-mountain and glacier excursions. It can be used as a walking aid and a safety tool on steep slopes covered in hard or even frozen snow. It is generally used in combination with crampons for added safety. For example, we recommend choosing a lightweight ice axe such as the PETZL Gully and hybrid steel/aluminum crampons such as the PETZL Irvis Hybrid.
Of course, choose equipment that suits your skill level and your needs. Having equipment that’s too high-performance can actually be a disadvantage if you don’t know how to use it properly. “Lightweight” doesn’t necessarily mean practical or easy to use.
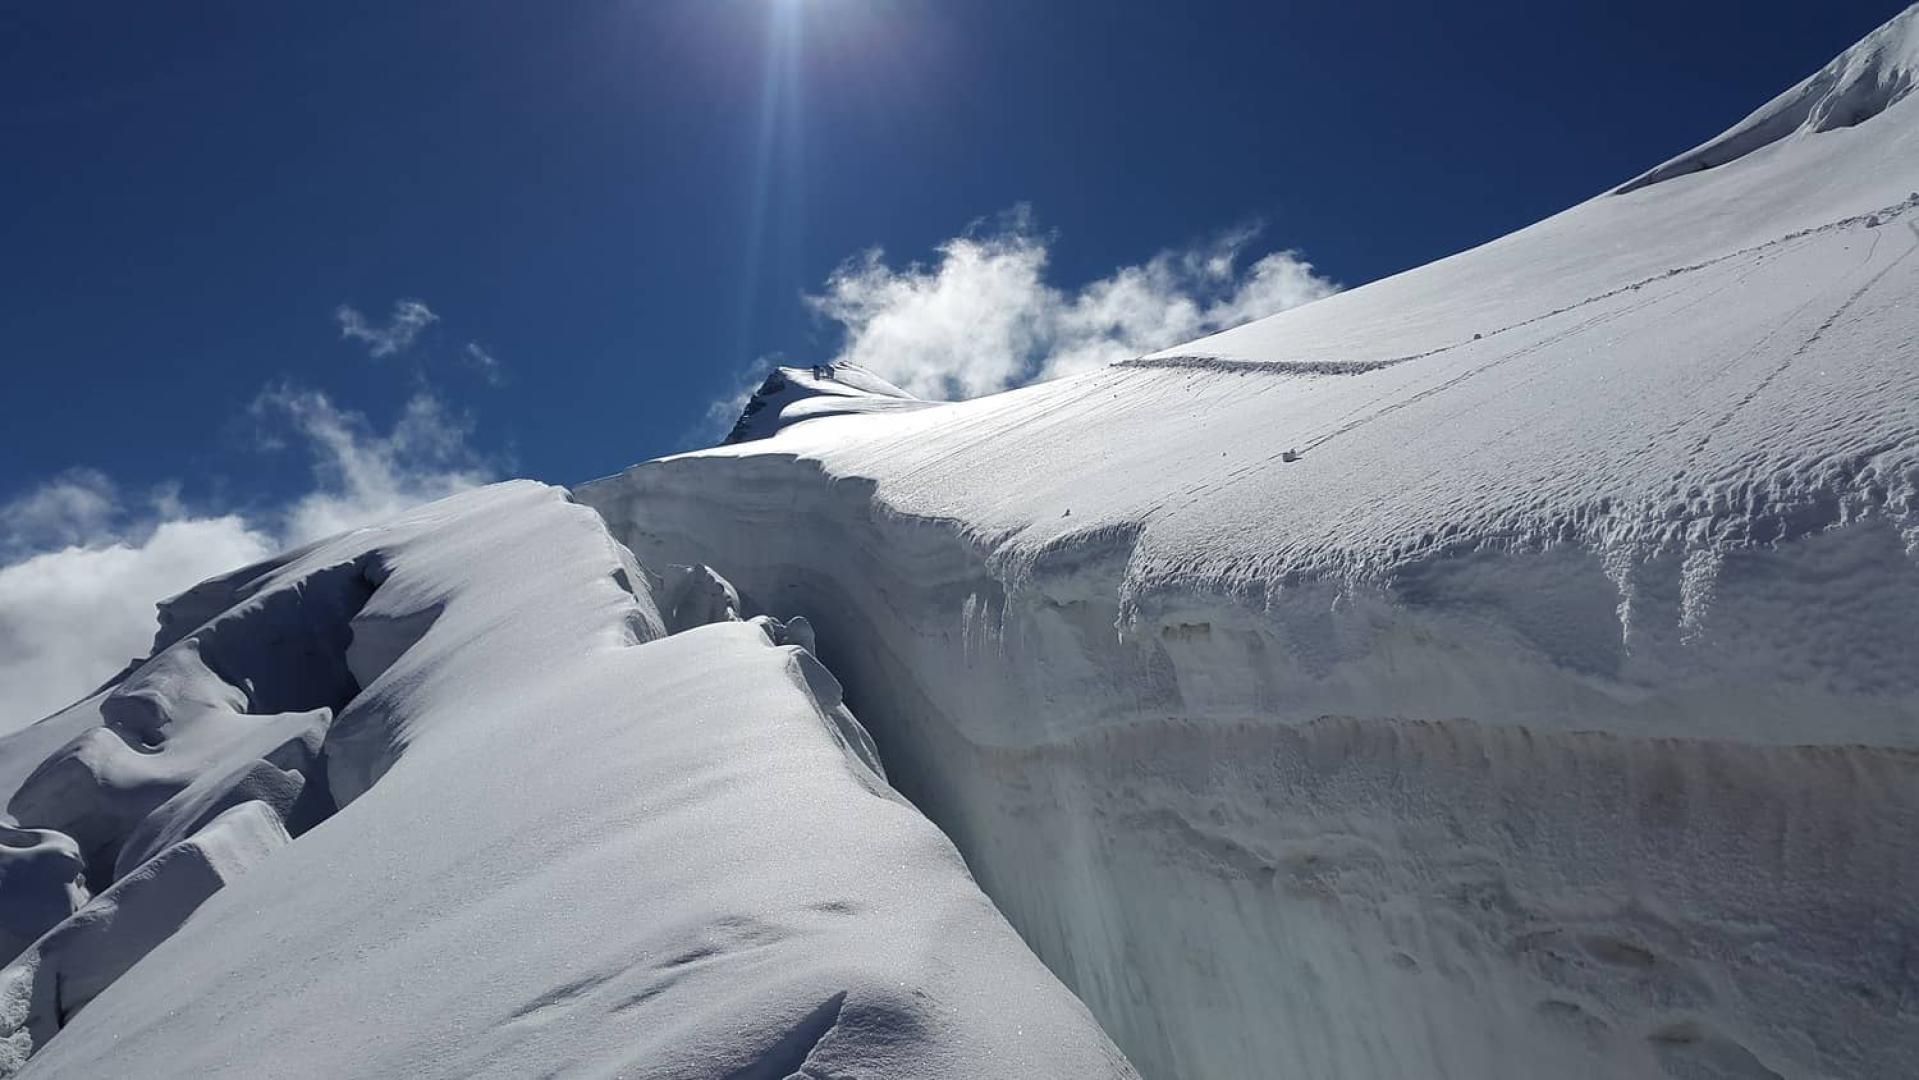
How do you rope up on a ridge or glacier?
The minimum rope length between climbers on a glacier is 15 meters. The lead climber and the climber at the rear must keep a reserve length of rope to initiate a rescue (pulley system) in the event of a fall into a crevasse. Rope teams must be formed whenever crossing a crevassed glacier. However, do not forget to bring individual equipment for glacier travel and crevasse rescue (a lanyard, ice screws, 120 cm slings, a pulley, a mechanical ascender, and an 8-meter rope). Regarding the rope, a single-strand rappel rope is sufficient for glacier travel.
There is no standard rope length for roping up on ridge routes. The key to safe progression on a taut rope is to place at least two safety points (quickdraws on bolts or pitons, slings on notches, friends, or nuts) between the lead climber and the second. The ropes used for ridge climbs are either one or two strands of double-stranded rappel rope or a single-strand rope.
How do you protect a ski run?
When skiing down slopes steeper than 30 degrees where the snowpack is rated as “cautionary” (level 4 on the avalanche danger scale), I have people start one at a time. I have them stop at a spot where the risk is lower. When skiing on steep slopes, I follow the same procedure.
When skiing on a glacier, proceed with caution. Keep your distance from one another. The skier at the back must be ready at any moment to lie down and catch the skier in front, who might fall into a crevasse.
How do you rescue someone caught in an avalanche?
When someone is caught in an avalanche, time is of the essence. The person’s chances of survival diminish very quickly (usually within fifteen minutes). It is therefore essential to know the correct steps to take to save the person and avoid any unnecessary actions.
1. Elect a leader
2. Call for help
3. Organize your research
4. Secure the premises
5. Conduct research
All group members must be able to perform an avalanche search using their avalanche transceiver! The CAF holds training sessions for this several times a year.
We strongly recommend that you watch this short video.
It’s very intuitive, so you’ll quickly understand the issues at stake and the right steps to take!
Pierro's words
"The video for 'La Chamoniarde' is very well done.
Avalanche transceiver training should be practiced regularly throughout the winter season so that you become familiar with your device and can respond effectively when the time comes.
As for how to organize yourself during an avalanche, here’s what I can tell you:
People who are completely buried must be rescued as quickly as possible. While it is important to alert emergency services, the most urgent priority is to rescue the buried person or people.
In this situation, the leader will naturally take charge. Be careful not to waste time. Use the avalanche transceiver to search. Look for and follow any surface clues. Once the person or persons have been found, administer first aid. Be aware that an avalanche victim may have multiple injuries.
Always be aware of the risk of secondary avalanches. Most new avalanche transceivers automatically switch to transmit mode if you are caught in a secondary avalanche during a search (not all devices do this, so be sure to check before purchasing)."
How do you rescue someone from a crevasse?
Key steps
The ENSA video clearly explains and demonstrates what you need to do when the person at the end of the rope is uninjured. If your companion is injured or unconscious, secure the situation, call for help, and begin operating the top pulleys (single or double marine knot).
Call for help
To call for help, use either the radio or your cell phone (112).
How can you improve your practice?
As you are no doubt aware, year after year we see our environment deteriorating as a result of human activity.
Taking action at our own level means being responsible. Through the ZAGreen program, we’ve tried to explore different ways to reduce our impact on an industrial scale, but those who participate also have a role to play!
Experienced skiers are frequent travelers. It’s still rare to find good alternatives to driving when heading to remote areas. However, we can be smart about it and arrange carpools with friends.
If you’re climbing in high mountains, you’ll sometimes need to place anchors. Try as much as possible not to leave any traces of your passage by using temporary protection (carabiners, nuts, pitons, friends, etc.) rather than pitons!
It’s nothing new, but if you love the mountains, you respect them. Keep your trash in your bag!
If this topic interests you, please visit our dedicated page.