Tutorial: Avoiding Risks When Skiing Off-Piste

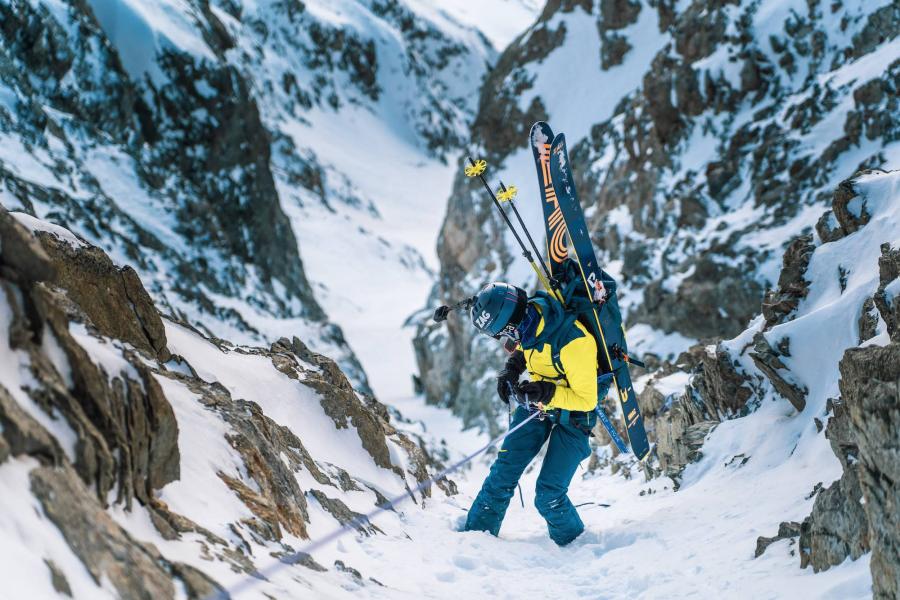
A favorite pastime for lovers of the mountains and vast, untouched landscapes, freeride skiing and ski Touring have become commonplace within the skiing community. Offering a chance to escape—even if just for a little while—from the constraints of ski resorts and the demands of everyday life, these activities are excellent mood boosters!
Everyone dreams of finding the perfect conditions for a great outing with friends in freshly fallen powder! However, as you know, this comes with many risks. In this article, we’ll try to help you avoid those risks and know how to handle any mishaps!
When the conditions are right, you’re in the starting blocks first thing in the morning with your friends, ready to go all out. But not so fast! Nothing beats a good personal check-in. Indeed, it’s important not to overlook the team’s morale. Knowing everyone’s motivations will allow us to tailor the outing to suit as many people as possible. You can never be sure there won’t be someone who’s not in top shape, or someone who wants to tackle as much elevation gain as possible in the shortest time, so it’s important to be aware of this to avoid any frustration within the team.
Avalanche transceiver check: OK, but watch out for interference!
To ensure your avalanche transceiver works properly, it is essential to minimize interference as much as possible. Interference can be caused by any electronic device (even if it is turned off or in airplane mode, as is the case with smartphones). The closer the device is to the avalanche transceiver, the more it interferes with the transceiver’s signal. You should keep electronic and metal devices at least 50 cm away from the avalanche transceiver.
Now we’re off—as the horses pick up speed, you can quickly tell which ones have the most stamina and which ones don’t, the ones that are lagging behind. No need to remind you that when you’re exerting yourself physically, you sweat and get hot. Managing your layers properly is important. After about fifteen minutes of effort, don’t hesitate to take a break, regroup, and ask everyone how they’re feeling (personal weather report, part 2), remove a layer if needed, split into smaller groups if necessary, and get back to it with renewed energy!

Pierro's words
“Taking human factors and the terrain into account is absolutely essential for the success of your outing. If you’re unsure about a decision or a section of the route, don’t hesitate to speak up. Communication is a key element that must not be overlooked within a group throughout the entire outing. Accidents often happen when weaker members don’t necessarily want to admit they’re not feeling well or aren’t comfortable, and conversely, a reckless person can lead you into critical situations without taking the time to assess the terrain and surroundings.”
"You should double-check to make sure all avalanche transceivers are in good working order. It is possible that the frequencies of some transceivers may drift, causing them to become incompatible with other devices."
I usually put my avalanche transceiver in a secure pocket on my pants (using the Leach system to attach it on the inside) and my phone in the opposite pocket of my jacket or even at the top of my backpack. Be careful—it’s not just electronic devices that can interfere with the signal; packaging for fruit compotes and cereal bars can also cause your avalanche transceiver to malfunction!
DECISION SUPPORT: MUNTER'S 3X3
This simple method allows you to make decisions quickly.
It is based on three factors—people, conditions, and the field—across three spatio-temporal levels: before, parking, and the field.
- BEFORE: Check the Avalanche Risk Report and familiarize yourself with the route you plan to take.
- PARKING: Personal check-in. Have a quick chat with the people you’re going out with to discuss their mindset, motivation, and expectations for the outing.
- TERRAIN: Be able to constantly assess the terrain and adjust your route if conditions turn out to be different than expected.
For more information:
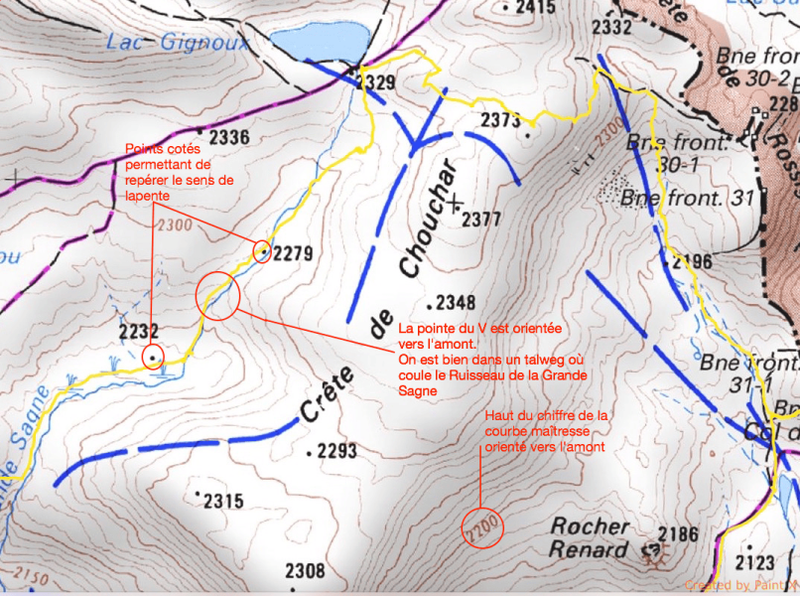
Check the snow conditions on the slopes, find out who has been there recently (check the forums), check the upcoming weather forecast, the starting point, and the route to take (blue lines on IGN maps).

Pierro- “The 3x3 method is one of the risk assessment methods I regularly use on my ski Touring trips, whether I’m out alone or with my clients. It’s very important to ask yourself the right questions at the right time!”
Please note: the most challenging aspect to analyze and interpret is snow science! If you’d like to improve your skills and test your knowledge of snow science, feel free to ask for advice from a mountain professional during one or more outings.”
A QUICK BREAK, A QUICK CHECK!
In winter, and especially when ski Touring, the skier’s number one enemy is the avalanche.
What exactly is an avalanche? It is the overlapping of two layers of snow—which we’ll call “slabs”—that have different densities. An avalanche is triggered when the lower slab has a lower density than the upper slab.
A single skier passing by is enough to trigger an avalanche spanning several dozen meters and involving several thousand cubic meters of snow.
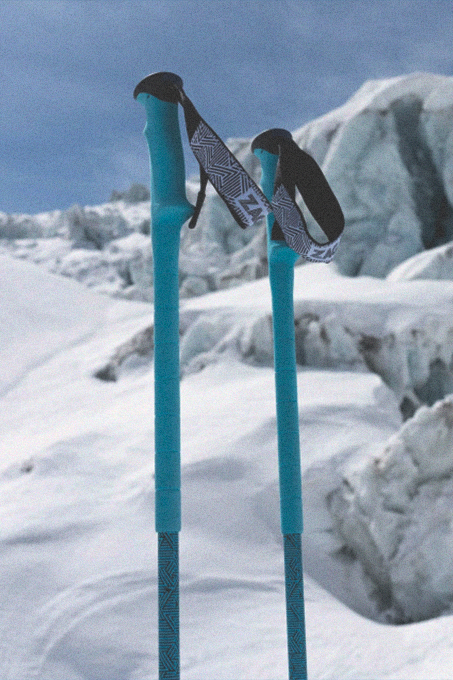
To check the snowpack and its layers on the spot, simply flip your Pole upside down Pole stick it into the snow. You’ll quickly feel different densities as you push it in.

SAFETY FIRST!
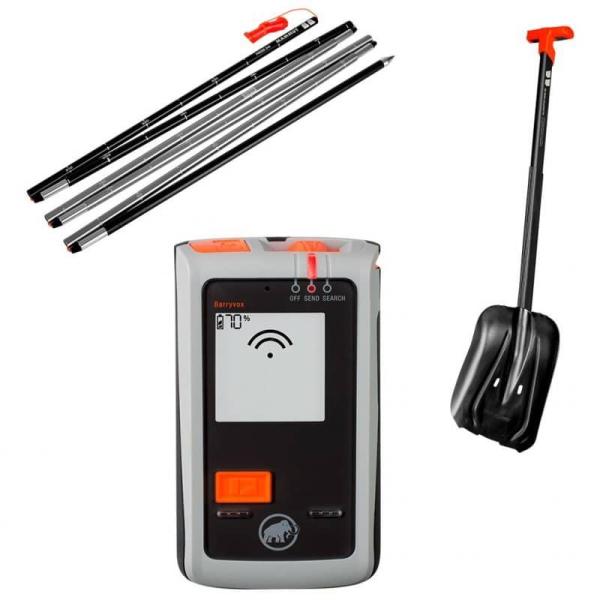
When skiing outside a designated ski area, you are at the mercy of Mother Nature. Choosing and planning your route is crucial based on current conditions (check the local avalanche report). However, it is essential to carry a safety kit. A safety kit consists of a probe, an avalanche transceiver, and a telescoping shovel.
Several brands offer these kits at different prices. This depends on the sensitivity of the avalanche transceiver’s antennas, the stiffness of the probe, and the shovel head (metal or plastic).
Adding an airbag bag to your checklist can therefore also be a plus.
Pierro - “The avalanche transceiver, shovel, and probe set is really the bare minimum you need to have on all your ski Touring trips.”
Check your avalanche transceiver at home and before heading out on any trip! Replace alkaline batteries before the charge drops to 40% (note: this type of battery can leak if left in the device for too long) and lithium batteries before the charge drops to 30%. Be sure to bring this guide with you on all your trips, whether you’re ski Touring freeriding.
"As for airbags (also known as ABS), they’re a great tool, but they shouldn’t lead to taking unnecessary risks in the name of safety. They should be used as a last resort if the initial decision wasn’t the right one."
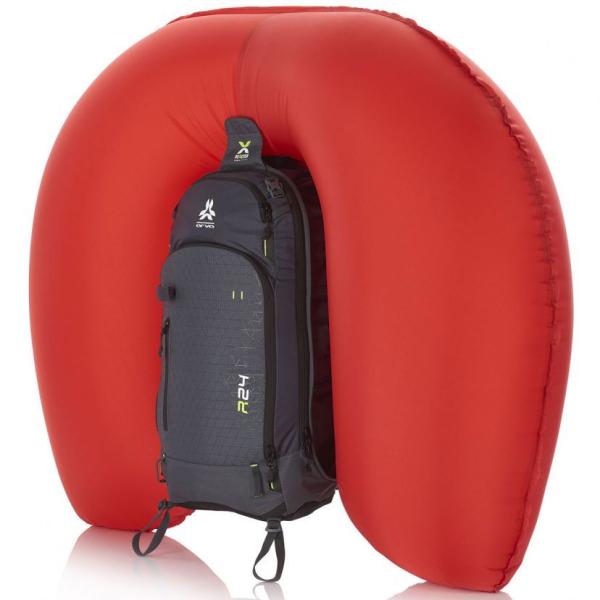

AN AIRBAG BAG—WHAT ON EARTH IS THAT?
It’s simply a bag that increases your body volume through an inflating mechanism. It uses a CO2 cartridge that, once activated by pulling the handle, inflates the sides of your backpack, allowing you to stay on the surface of the avalanche and providing you with better buoyancy.
This equipment is included in the safety package.
THE FINAL CHECKLIST
- Best practices to follow
- Check avalanche transceiver at the start of the trip
- Check that the transmit and receive modes are working for each member of the group. For instructions, check out our blog post "Intermediate–Advanced Tutorial: Checking Your Avalanche Transceiver."
- Replacement skins
- Recognizing the signs of a helicopter parent
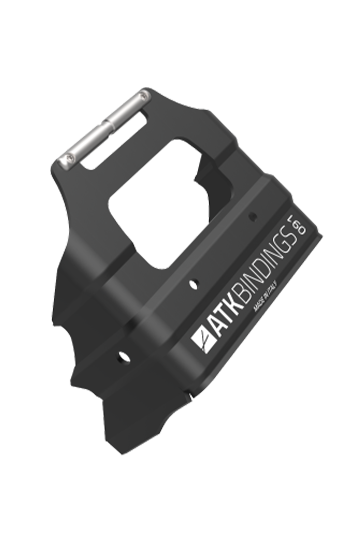
- Have a pair of Crampons
- Don't go out alone, and let family or friends know about your plans
- In an emergency, know how to quickly find GPS coordinates on your smartphone
- Pack a survival kit (clothing to keep you warm, a survival blanket, food, a hot drink, a headlamp, a first-aid kit, and some tape).
And there you have it! We've reached the end of this blog post!
Thank you for your attention. We hope you’ve learned or refreshed your understanding of some concepts.
If you have any further questions, please feel free to contact us or stop by the store!
RIDE SAFE!