Tutorial: How to Get Started with Ski Touring


Ski Touringis booming and has become a real craze in mountain sports, especially following the COVID-19 pandemic and the closure of ski lifts during the 2019–2020 season. Accessible and thrilling, set in a pristine environment, it offers a welcome break from conventional sports and a chance to discover a new way to experience the mountains.
However, like all mountain sports, it is a high-risk activity where it is important to understand its specific characteristics in order to get started safely and under the right conditions. We have found that it can sometimes be difficult for someone new to the sport to know how Touring begin ski Touring with the right equipment and sufficient knowledge. That’s why, accompanied by our guide Pierre Masbou—aka Pierro—we’ll guide you through the proper techniques to adopt.
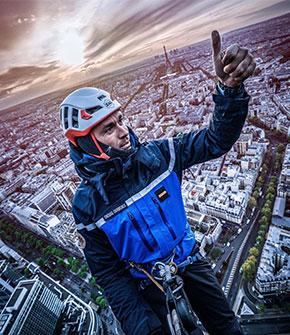
Pierre Masbou
My name is Pierre Masbou; I am a trainee mountain guide and ski instructor. I currently work as a gendarme rescue officer and instructor at the National Gendarmerie Ski and Mountaineering Center (CNISAG, a training center for mountain rescue). I first got into mountaineering and ski Touring my home mountains, the Pyrenees. A famous quote that has stayed with me since I started: “A mountaineer is a man who leads his body to where, one day, his eyes have looked…”
The History of Ski Touring
Ski Touring thus Touring nearly 4,000 years ago among our Scandinavian neighbors. To be able to track game over long distances, they decided it would be wise to keep their skis on.
Equipped with sealskins or moosehides, these allowed them not only to move forward but also to descend slopes. Recognized as useful, this invention was subsequently adapted for military use as well as for explorers in the early 19th century.
Over the years, ski Touring a means of transportation before evolving into a recreational activity. There is no doubt that advances in equipment and changing attitudes have made this sport accessible to a wider audience, as we know it today.
It is thanks to these advancements in equipment that we can now distinguish between Touring traditional ski Touring and the more contemporary style of freerando. Although similar, these two forms of backcountry skiing are different.
A useful link for those curious about the history of ski Touring
Ski Touring freerando?
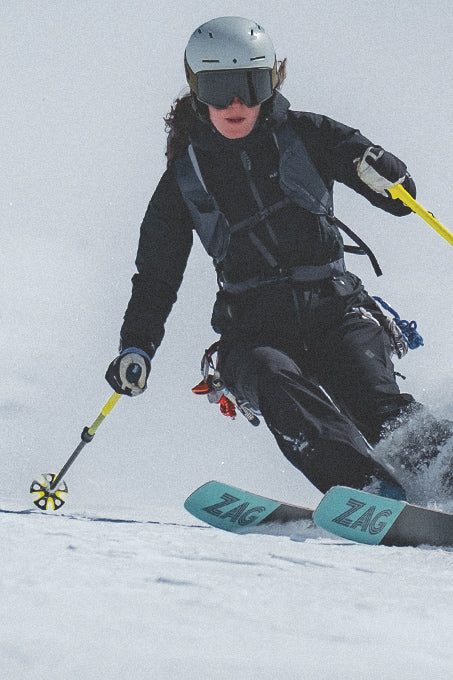
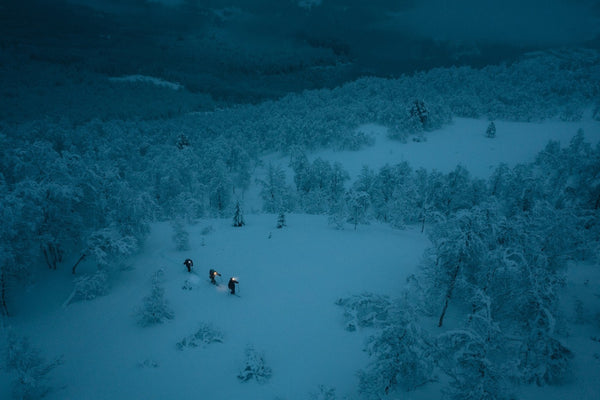
Touringare particularly focused on achieving performance through lighter gear. Exploring the mountains on skis requires lightweight and reliable equipment. This sport perfectly combines the physical effort of the ascent with the joy of skiing through breathtaking landscapes, offering a unique thrill during the descent on pristine, untouched snow. An undeniable advantage is that this sport can be enjoyed anywhere as soon as the first snow falls! With this activity, you can forget about overpriced ski lifts and crowded slopes; ski Touring allow you to discover the mountain in its true form, with the joy of leaving your own tracks and having unexpected encounters with wildlife around a ridge or a rock.
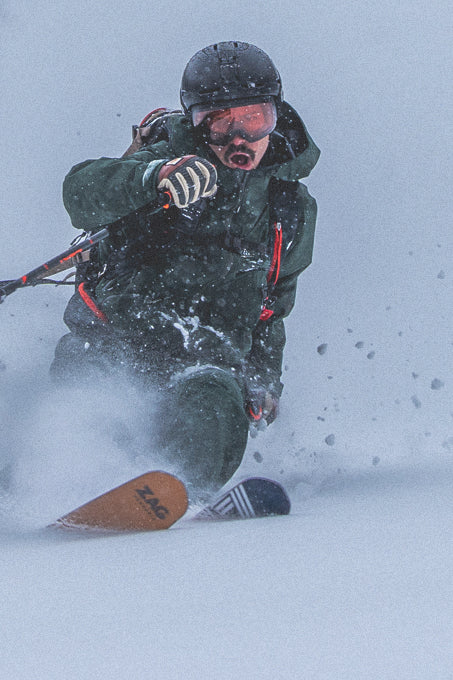
Freerando skiing, on the other hand, is designed to maximize the thrill of the descent. If you want to venture off the beaten path and get a taste of fresh powder, this type of skiing is for you! With wide, maneuverable skis, you’ll focus on the descent, accepting that the physical effort required on the ascent is a bit greater than with Touring skis. So, using existing infrastructure, you’ll venture off the trails to ride a slope untouched by tracks, where the sensations of speed and freedom will take hold of you during the ride.
In Pierro's own words:
"In fact, we can distinguish between ski Touring this new activity known as freerando. The equipment used in the two activities isn’t necessarily the same. Ski Touring more on exploring the environment both on the ascent and the descent. It requires significant physical effort, as you don’t take the lifts to the highest point of the ski resorts; instead, you climb short distances on skins to fully enjoy a long descent in good conditions. This requires equipment better suited for the descent and is therefore heavier. As someone who practices both disciplines, I find they complement each other.”
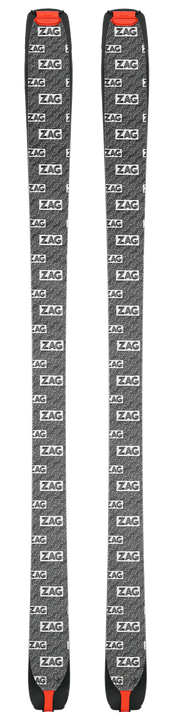
Which skis should you choose if you're new to Touring
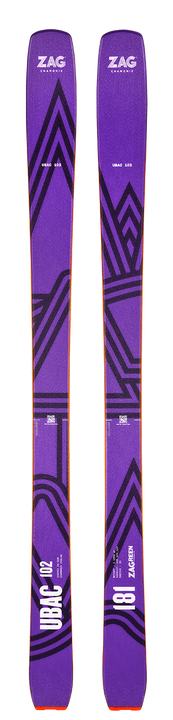
So, we’ll start by using certain criteria to determine how to choose your pair of Touring skis. The first decision you’ll need to make is how you want to approach Touring skiing. We’ll distinguish between Touring skis Touring performance on the ascent (the ADRET line) and Touring “fun” Touring skis, which strike the right balance between weight, performance, and enjoyment (UBACorSLAP ranges). We will therefore evaluate a ski based on its versatility, accessibility, stability, climbing ability, descending ability, and maneuverability.
The skis in the ADRET line are highly technical. They are ultra-lightweight and therefore require a solid technical foundation to master. The UBAC line, on the other hand, offers the perfect balance between lightness on the ascent and performance on the descent. This line of skis is therefore better suited for Touring skiers, particularly the models with an average widthof 89 mmor95 mm.
In practical terms, this is how it works on a ski; we’ll be discussing:
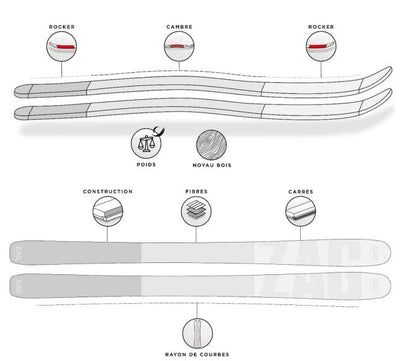
So, based on your skill level, mountain experience, the type of trips you take (steep slopes, multi-day backcountry tours, trips in all types of snow), and your goals, you’ll choose skis that are right for your needs.
How to Choose Bindings Touring Bindings Touring
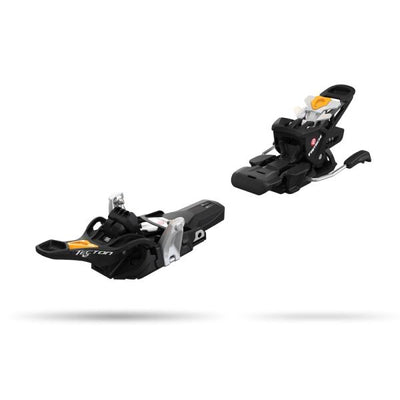
"Low-tech" Bindings
These are Bindings on the market. Lighter and easier to handle, they offer fewer adjustment options but a clear weight advantage. Different safety levels are available depending on the brand and model. Generally, Binding the Binding , the less safety you have when stepping out.
Factors to consider include the DIN setting for lateral movement and release (which is sometimes adjustable within a range of 4 to 12, for example, or may be fixed at 6 or 8 on very lightweight bindings). We recommend Touring beginner Touring with a Binding an adjustable DIN setting to maximize safety.
Using ski brakes also significantly improves comfort and safety.
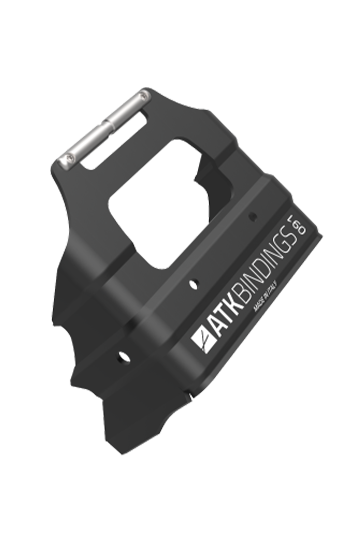
For example, our Binding in collaboration with the Italian brand ATK: the Raider 10.
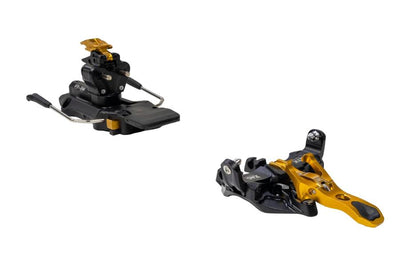
Bindings Hybrid" Bindings
Freerando's Bindings hybrid" Bindings offer all the safety and flexibility of an Binding , plus the ability to hike.
The focus is on downhill performance and safety. It is bulkier and heavier than Touring Bindings with "low-tech" inserts, but it is more versatile and generally provides greater safety for the skier on the descent.
It offers a good compromise between Binding and Binding , weighing between 1,000 and 1,700 grams per pair, and often comes with DIN and TÜV certifications that standardize release values to provide the same level of safety found in alpine skiing. Here are a few examples: Salomon Shift, Fritschi Tecton 13, Marker Duke PT/Kingpin....
At ZAG, we primarily recommend the Diamir Tecton 12 and the Salomon SHIFT, which are TÜV-certified and therefore offer maximum safety for skiers. These bindings are often mounted on our UBAC, SLAP, or HARFANG models.
Today, the product lineup focuses mainly on Bindings and hybrid bindings.
Note:Make sure the Binding plate Binding the width of the tail piece are compatible with the width of the ski. We recommend a Binding for freerando skis and a Binding for Touring skis. Now that you have a clearer idea of which ski and Binding based on what you want to do, let’s look at the practical side of things!
How do you put on and take off your boots when ski Touring
Tostep intoa Binding , open the Binding jaw, align your boot with the ergonomic grips, and press down on the spring to close the jaw. Once this is done, pull the front latch to lock the Binding “ride” mode, preventing your foot from slipping out while climbing.
Next, be sure to raise your heel and adjust your bindings. Generally, the first level of adjustment is sufficient for most slopes. When skiing on relatively flat terrain, it’s not necessary to adjust your heel piece; your heel can rest directly on the ski. As for adjusting the ski brakes, on a Touring Binding , Touring is done by rotating the heel piece.
Totake off your boot, Pole your Pole push the latch down, then turn your heel to the right or left to remove the boot from the U-shaped holder.
In Pierro's own words:
"So, if the setup was done correctly, to put on your boots, simply place the boot flat on the ski between the two Bindings front and rear), then push your heel all the way back against the Binding (note: depending on the Bindings model, Bindings gap of a few millimeters may be necessary), and at that point you can press down on the ball of your foot to activate the spring so that the jaws engage with the inserts in the boot. For this method to work, the rear binding must be in the climbing position."

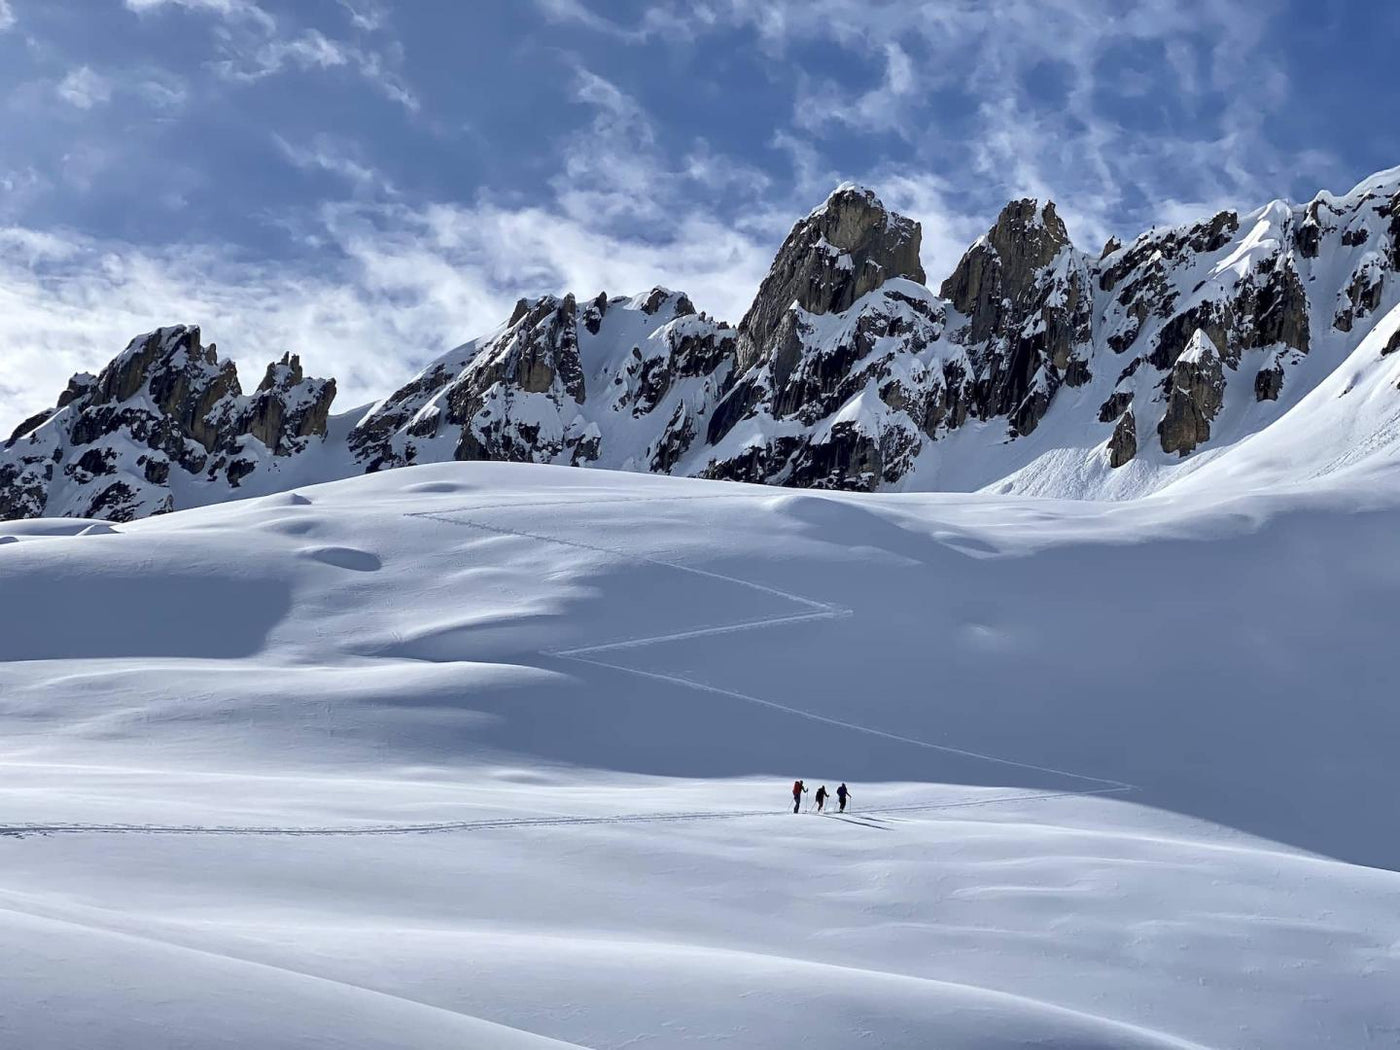
Ski Touring The Conversion
You’ve probably noticed large zigzags in the snow on slopes. Each turn is what’s called a “conversion.” The principle behind the conversion is simple: when you’re going uphill, if you feel the slope is too steep to tackle head-on, you’ll start a conversion. This method helps you avoid unnecessary fatigue.
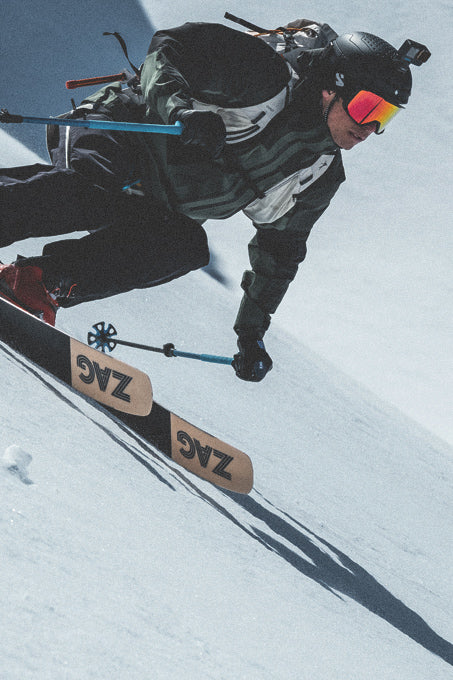
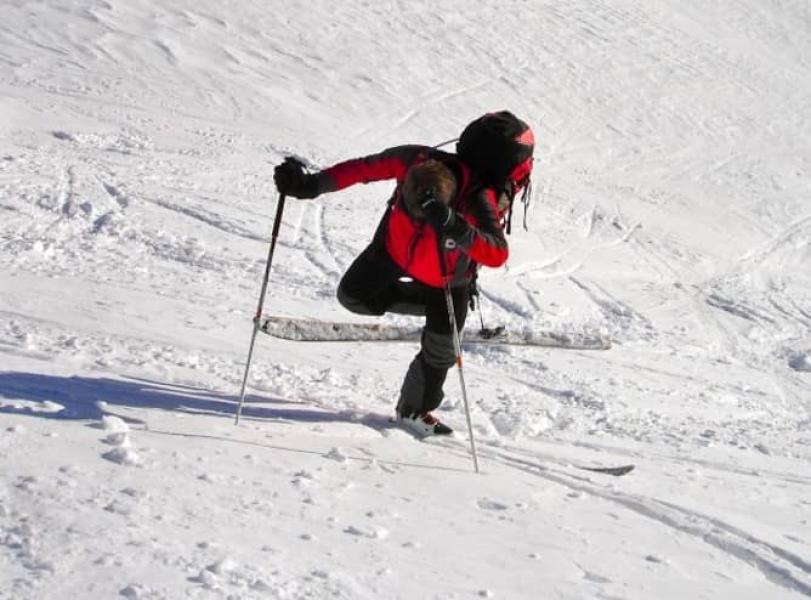
Let's say you're going to perform a left shift:
You’ll spread your arms (like the man below), lift your uphill ski, and turn it to the left (don’t hesitate to push down firmly so you can shift your weight afterward). You’ll then shift your weight onto that leg and bend your downhill leg (in this case, the right one), bending your knee and rotating your ski until it’s parallel to the other one again. And there you go—give your Poles a little push Poles you’re off again!
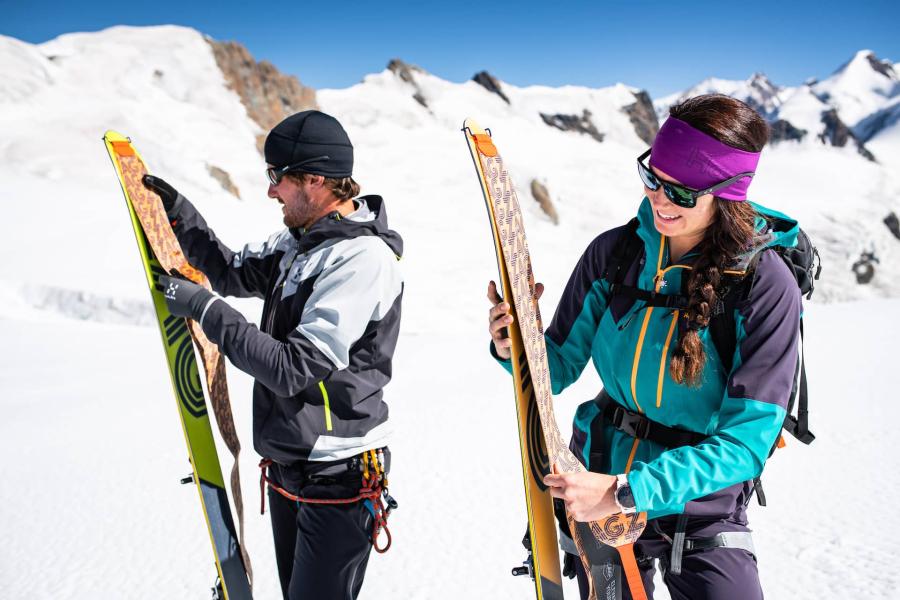
How do you put on your sealskins?
There are several types of skins available on the market, but the basic principle is the same: to properly attach a Touring ski skin, place the heel of the ski on the ground, hold the ski upright, and slide the skin’s attachment strap over the tip.
Now comes the “technical” part, where you’ll gently stretch and align the skin along the entire length of the ski. Be careful not to create any wrinkles or let the skin extend beyond the edges. You can then use the heel tensioner (some racing-style skins do not have a tensioner so you can put on or take off the skins without taking off your boots) to ensure the skin does not come loose during the ascent.
We will distinguish between "race-style" sealskins (with a single tensioner at the front) and more traditional sealskins (with a stirrup and a tensioner at the back).
How should you approach a ski Touring descent Touring
Once you’ve reached your destination, taken the time to enjoy the view, and had a bite to eat, it’s time to start thinking about heading back down. To do this, you’ll first need to remove the skins (that is, take the skins off your skis and pack them away in your bag).
Next, there’s no faster way to get into downhill mode! Turn your Binding a quarter or half turn—depending on the model—so that the U-shaped piece aligns with your heel, then give your foot a sharp tap to snap the bindings into place!
Also, remember to unlock your Binding —otherwise, your knee could take a hit if you fall! You’re all set to hit the powder!
How do you properly adjust your Touring Bindings Touring
Here’s a small detail that could save you from a major crash: a Binding adjusted Binding is Binding suited to the length of your skis and, depending on your weight, will only release if excessive pressure is applied. You should therefore avoid having it release too quickly, just as you should avoid it not releasing at all. The release of a Binding is measured Binding the DIN setting. This unit of measurement allows you to adjust the Binding your weight. You can rely on the AFNOR scale to set your Bindings.
Please note: even if your technical skills aren’t perfect, we still recommend visiting a specialty ski Touring shop Touring they can adjust your Bindings your boots and skill level! Additionally,depending on the type of Binding the model, some additional adjustments may be necessary. So that’s all the more reason to have a professional handle the adjustments if you aren’t familiar with every detail of your equipment.
In Pierro's own words:
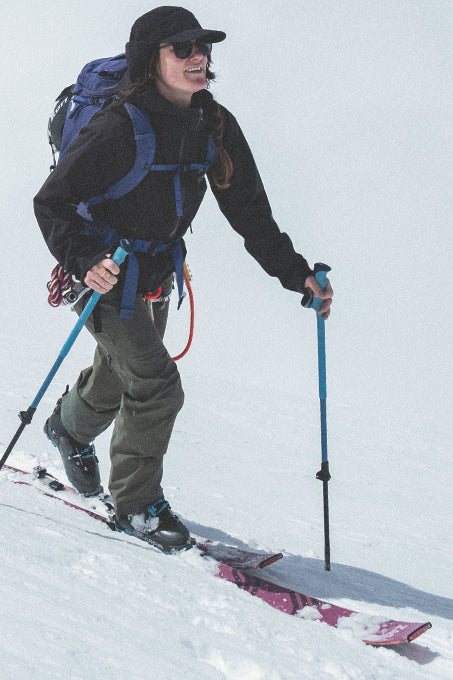
"When climbing, we generally tend to shift our body weight onto the balls of our feet. As a result, the weight is mainly applied to the front of the ski, which can cause the skins to lose grip. Instead, I recommend pressing down on your heels (it will pull a bit on your calves at first) because the weight will be distributed across the entire ski, allowing the climbing skins to grip better.
When skiing downhill, it’s really important that your Bindings perfectly adjusted to your boots to prevent them from releasing unexpectedly. If the DIN setting isn’t right, or if the setting is too tight and prevents you from releasing, you’re at risk of falling—which could catch you off guard or, worse yet, cause you serious injury!
"If you lose a ski, the Bindings be fitted with a leash or ski stops. If I had to choose, I would recommend ski stops because they are safer in the event of an avalanche."
Now that you know more about what gear to choose, we’ll focus on selecting a trip and planning the route. Going ski Touring planning your trip in advance and making sure your skill level matches the chosen route. If you have trouble assessing your technical or physical ability, you can consult a mountain professional (such as a mountain guide or ski instructor)."
Also, remember to unlock your Binding —otherwise, your knee could take a hit if you fall! You’re all set to hit the powder!